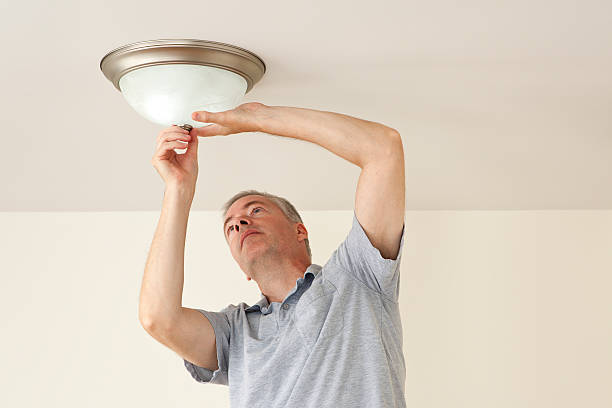
Installing a light fixture is a great way to update the look of a room or improve its functionality. And with the right tools from Ryobi, it's a project that you can complete in just a few simple steps. Here's how to install a light fixture using Ryobi tools:
Materials you'll need:
- New light fixture
- Wire nuts
- Electrical tape
Tools you'll need:
- Ryobi 18V ONE+ Drill/Driver Kit
- Ryobi 18V ONE+ LED Flashlight
- Ryobi Non-Contact Voltage Tester
Step 1: Turn off the power
Before you begin, make sure to turn off the power to the existing light fixture by flipping the switch on the circuit breaker. Verify that the power is off using the Ryobi Non-Contact Voltage Tester.
Step 2: Remove the old fixture
Use the Ryobi 18V ONE+ Drill/Driver Kit to remove the screws holding the old fixture in place. Carefully remove the fixture and disconnect the wires.
Step 3: Connect the wires
Connect the wires from the new fixture to the corresponding wires in the electrical box. Use wire nuts to secure the connections and cover them with electrical tape for added safety.
Step 4: Attach the fixture
Attach the new fixture to the electrical box using the screws provided. Make sure that the fixture is securely in place.
Step 5: Turn on the power
Once the fixture is installed, turn the power back on and test the new fixture using the Ryobi 18V ONE+ LED Flashlight.
By using Ryobi tools, you can complete this DIY project quickly and safely. The Ryobi 18V ONE+ Drill/Driver Kit will make removing and installing the fixture a breeze, while the Ryobi Non-Contact Voltage Tester will help you ensure that the power is off before you begin working. And with the Ryobi 18V ONE+ LED Flashlight, you can test the new fixture without having to turn on the room lights. With these tools and a little bit of know-how, you can install a new light fixture in no time.
