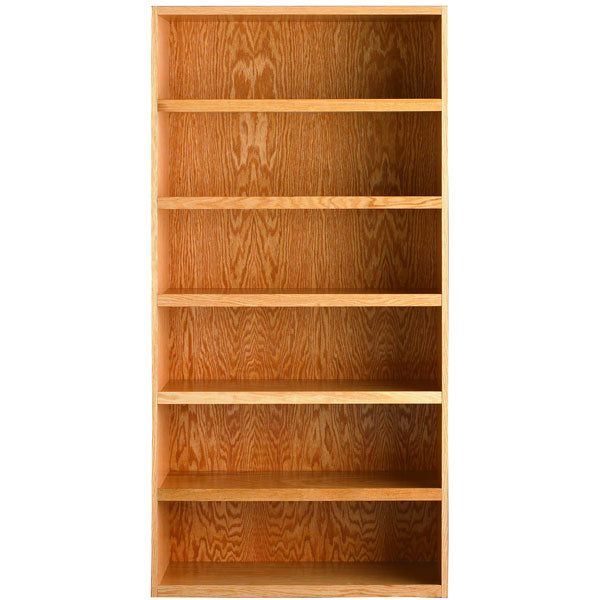
Building a bookshelf is a great way to add some storage and style to your home. And with the right tools from Ryobi, it's a project that you can complete in just a few hours. Here's how to build a bookshelf using Ryobi tools:
Materials you'll need:
- 1 sheet of ¾ inch plywood
- 2 pieces of 1x2 inch lumber
- Wood glue
- Screws
- Wood finish
Tools you'll need:
- Ryobi 18V ONE+ Brushless Jig Saw
- Ryobi 18V ONE+ 5" Random Orbit Sander
- Ryobi 18V ONE+ Cordless 18-Gauge Brad Nailer
Step 1: Cut the plywood to size
Use the Ryobi 18V ONE+ Brushless Jig Saw to cut the plywood into the desired size for your bookshelf. Make sure to measure and mark your cuts carefully.
Step 2: Sand the edges
Use the Ryobi 18V ONE+ 5" Random Orbit Sander to sand the edges of the plywood to smooth them out and remove any splinters.
Step 3: Assemble the frame
Using the 1x2 inch lumber, create a frame around the plywood to give it more support. Use wood glue and screws to secure the pieces in place.
Step 4: Attach the shelves
Using the Ryobi 18V ONE+ Cordless 18-Gauge Brad Nailer, attach the shelves to the frame. Make sure to measure and mark where each shelf should be placed before nailing them in.
Step 5: Finish the bookshelf
Sand the bookshelf with the Ryobi 18V ONE+ 5" Random Orbit Sander to ensure a smooth finish. Then apply your desired wood finish to protect and enhance the appearance of the bookshelf.
By using Ryobi tools, you can complete this DIY project quickly and efficiently. The Ryobi 18V ONE+ Brushless Jig Saw will make precise cuts, while the Ryobi 18V ONE+ 5" Random Orbit Sander will help you smooth out the edges. And with the Ryobi 18V ONE+ Cordless 18-Gauge Brad Nailer, you can attach the shelves securely without the need for a compressor or hose. With these tools and a little bit of know-how, you can create a beautiful bookshelf that will be a great addition to your home.
